
Best Foundation Shade Finder Tools: AI, Photo, AR, and Retailer Options
 Reviewed by Alexandra Gilmore
No foundation finder solves every matching problem: AI, AR, retailer databases, and shade-transfer tools each answer a different question. Compare their privacy, shade coverage, and practical limits, then verify any shortlist on your jaw and neck after accounting for lighting, finish, and oxidation.

The best foundation shade finder tool depends on what you need it to do. A selfie-based AI tool can estimate your depth and undertone from a photo. An AR try-on can show how a product family might sit on your face. A retailer finder can compare products across brands. A quiz or shade-transfer tool can be useful when you already know one match and want a close option somewhere else.
None of these tools should be treated as a final verdict. Lighting, camera white balance, surface redness, formula texture, oxidation, and shade-range gaps can all change the result. The useful approach is to choose the right tool for the decision, read the privacy screen before uploading your face, then verify the recommendation with a jaw-to-neck test in daylight.
This guide compares the major types of foundation shade finder tools: AI, photo upload, live camera, AR try-on, brand quizzes, retailer databases, and shade-transfer services. If you already know you want to use a selfie, start with the foundation shade finder with photo guide. If your main question is how to buy online without wasting money, use the online foundation shade process. Here, the focus is the tool landscape itself: what each type is good at, where it fails, and how to check the answer before you commit.
Key Takeaways
A foundation shade finder is a shortlist tool, not a replacement for real-world testing. Use AI or photo tools to estimate depth and undertone, AR tools to preview a product line, retailer tools to compare brands, and shade-transfer tools when you already own a shade that works.
💫 Discover Your Complete Color Palette
If shade tools keep returning warm, cool, neutral, or olive results that do not make sense, your broader color direction can help you interpret the pattern. Build a personal palette before you buy another bottle.
Find My Color Palette →- AI and photo tools are best for estimating skin depth and undertone from a controlled image, but they are sensitive to lighting and camera settings.
- AR try-on tools help you preview shades in one brand family, yet they still cannot show wear time, texture, oxidation, or neck blending.
- Retailer tools are useful when you want several brand options in one place, but the database is only as good as its available shade mappings.
- Shade-transfer tools work best when your current foundation is a strong match and the new formula has a similar finish and coverage.
- Privacy matters whenever a tool asks for a photo, live camera access, face scan, or account login. Read the consent screen before uploading.
📚 Recent Articles
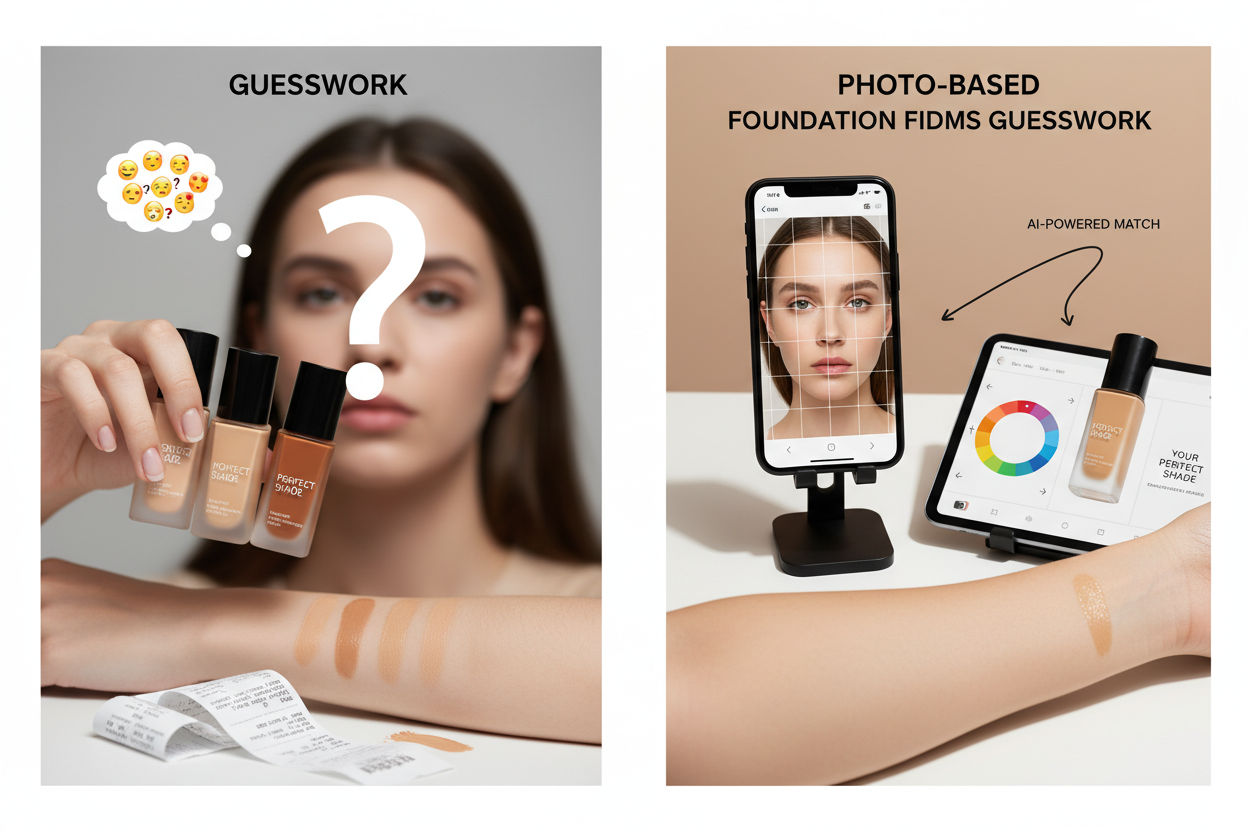
Types of Foundation Shade Finder Tools
Most tools look similar on the surface because they all promise a shade recommendation. Underneath, they solve different problems. Before you trust a result, identify which type of tool you are using and what information it actually collected.
| Tool type | What it uses | Best for | Main limitation |
|---|---|---|---|
| AI photo or selfie finder | Uploaded photo, live camera, or guided scan | Estimating skin depth and undertone from your face | Lighting, camera processing, makeup, and surface redness can distort the sample |
| AR virtual try-on | Camera overlay or uploaded face image | Previewing shades inside one brand or retailer interface | It previews color visually but does not test texture, dry-down, or oxidation |
| Brand quiz | Skin depth, undertone, coverage, finish, and preference questions | Narrowing one brand's shade range without uploading a face photo | It is limited to that brand's labels and current assortment |
| Retailer finder | Cross-brand database, current shade, preferences, or camera input | Comparing several brands in one shopping path | Coverage depends on which brands and formulas are indexed |
| Shade-transfer matcher | A foundation you already wear | Finding a close alternative in another formula or brand | A good transfer still needs testing because formulas change how color reads |
If you are starting from zero, a quiz plus a photo finder usually gives a stronger shortlist than either one alone. If you already have a reliable shade, a transfer tool is often faster. If you are choosing between two nearby bottles, skip the app and do the physical jaw-to-neck check.
Current Services Worth Comparing
Tool availability changes often, so treat the examples below as a starting map rather than a permanent ranking. The better question is not “which tool is best?” but “which tool fits this purchase and what does it ask me to share?”
| Service | Tool style | Useful when | Verification step |
|---|---|---|---|
| Sephora Foundation Shade Finder | Retailer finder and shade comparison | You want cross-brand options and already shop within Sephora's range | Compare return policy, finish, and jawline swatches before keeping the bottle |
| Maybelline Foundation Finder | Brand finder with guided recommendations | You want a drugstore shortlist inside one brand family | Check whether the suggested undertone label actually blends into your neck |
| Fenty Face Shade Finder | Brand finder for a broad shade range | You need more depth and undertone options, especially in medium-deep to deep ranges | Confirm depth and undertone separately because rich ranges still have close neighbors |
| NARS Matchmaker Shade Finder | Brand shade finder and product-matching flow | You want to compare NARS undertone labels such as golden, olive, neutral, or red-based | Test the same family in your formula because finish changes the perceived shade |
| Ulta GLAMlab | Retailer virtual try-on environment | You want a quick visual preview while shopping retailer inventory | Do not use the overlay as the only match; confirm in daylight on the face-to-neck transition |
| IL MAKIAGE PowerMatch | Question-based brand matching quiz | You prefer a no-photo quiz and a formula-specific recommendation | Check undertone, exchange terms, and oxidization after the product settles |
The pattern matters more than the names. A retailer database gives breadth. A brand tool gives depth inside that line. A live camera or AR tool gives speed. A quiz can be more private if it does not request a face image. A shade-transfer matcher is useful only when the starting shade is genuinely good.
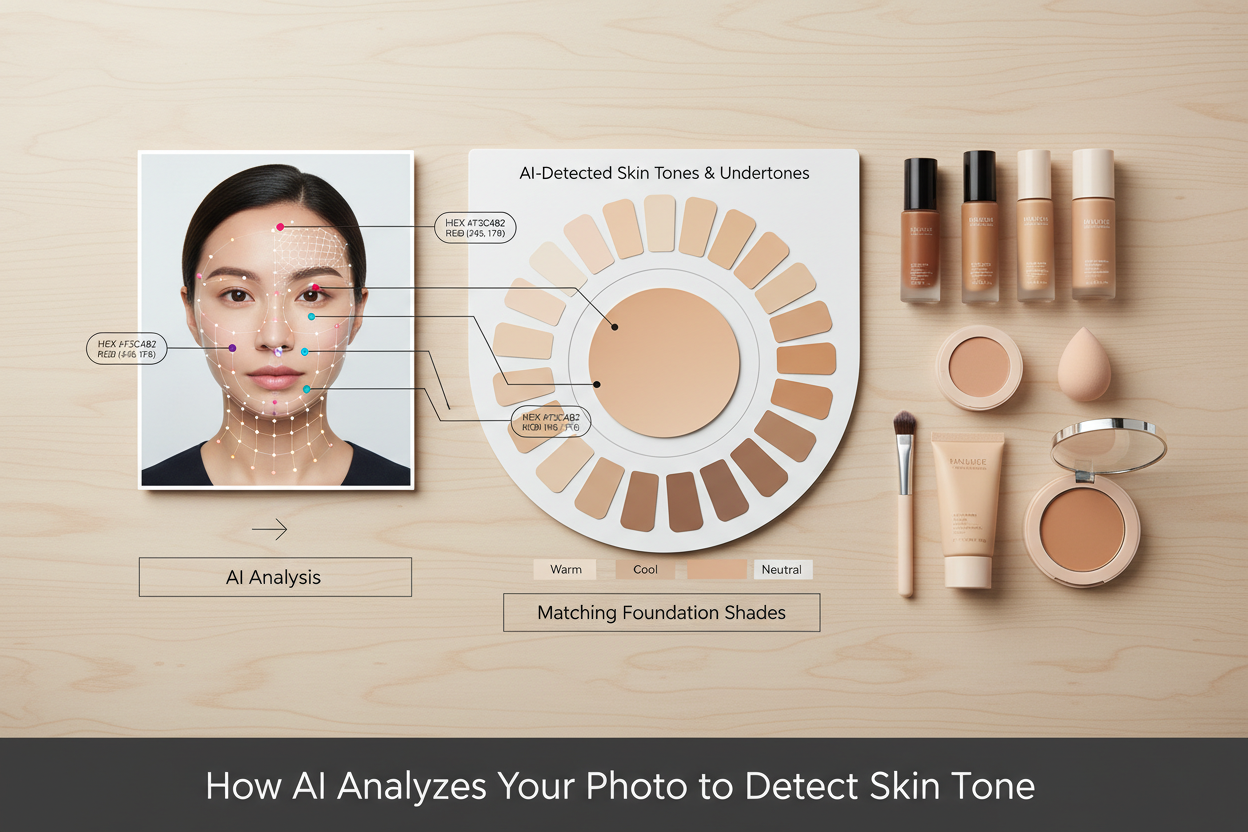
How AI, Photo, and AR Tools Differ
AI, photo, and AR are often grouped together, but they are not the same. A photo tool reads pixels from an image. An AI finder may add face detection, skin-area sampling, undertone classification, or product matching. AR try-on paints a selected shade over a live or uploaded face so you can preview color in context.
For foundation, the hardest part is not detecting a beige, tan, or deep brown area on the face. The harder part is deciding which sampled area represents your stable skin, ignoring surface redness or shadow, translating that into a brand's shade system, then accounting for formula behavior. A matte long-wear foundation and a sheer serum foundation can look different even when their shade names are close.
| Question | AI/photo finder | AR try-on |
|---|---|---|
| Can it estimate depth? | Often, if the lighting is even and the face is bare | Not reliably by itself; it previews selected shades |
| Can it estimate undertone? | Sometimes, but redness, olive cast, and camera warmth can confuse the read | Only indirectly through how the overlay appears |
| Can it show texture? | No | No, not in the way the product dries or wears |
| Can it account for oxidation? | No | No |
| Best use | Build a first shortlist | Compare nearby shades visually inside one catalog |
Use the photo result as a category: light-neutral, medium-warm-olive, deep-cool, or similar. Then choose two or three neighboring shades, because the product family still decides the final behavior.
Privacy Checks Before Uploading Your Face
Any tool that uses a selfie, live camera, face scan, or virtual try-on deserves a short privacy check. You do not need to become a legal researcher. You do need to know whether the tool processes your image temporarily, stores it, shares it with a technology provider, connects it to an account, or uses it for analytics and personalization.
Before you continue, look for four things on the tool screen or linked policy: whether camera access is optional, whether the image is saved, how long data is retained, and whether the tool mentions biometric or face-geometry data. Large beauty tools often rely on third-party virtual try-on technology, so the brand page and the technology provider may both matter.
- Prefer a quiz or shade-transfer path when you do not want to upload a face photo.
- Use a fresh, makeup-free photo only when the tool clearly explains how it handles the image.
- Avoid uploading children, other people, or photos with unrelated faces in the background.
- Do not sign in unless you want the result connected to your account history.
- If the consent language feels vague, use the tool for browsing only and verify the shade offline.
Privacy is not separate from accuracy. A tool that asks for better lighting, a bare face, and a direct angle may perform better, but it is also asking for a more useful face image. Decide whether that trade is worth it for the purchase you are making.
Deep-Skin Coverage and Shade Range Gaps
Foundation shade tools can only recommend what exists in the database. That matters most at the edges of a shade range and in undertone families that brands handle unevenly: very fair olive, muted medium olive, cool deep, neutral deep, red-based deep, and golden-deep complexions.
A tool can appear sophisticated while still returning a poor answer if the product line lacks the depth or undertone you need. Broad shade ranges help, but numbers alone are not enough. A forty-shade range with many beige midtones may still leave gaps in deep-cool, deep-neutral, olive, or muted undertone categories.
| Coverage issue | What it looks like | What to do |
|---|---|---|
| Deep shades run too red | The recommended bottle matches depth but looks ruddy or separate from the neck | Compare neutral-deep and cool-deep neighbors, not just the closest number |
| Deep shades run too orange | The face looks warmer than the chest after blending | Look for neutral, golden-neutral, or olive-adjusted options |
| Olive shades are missing | Warm looks yellow and neutral looks pink or flat | Use an undertone guide first, then test brands that label olive or golden-olive clearly |
| Very fair shades look chalky | The shade is light enough but too white, pink, or gray | Compare fair-neutral, fair-warm, and fair-olive families in daylight |
If a tool keeps recommending the same wrong family, the issue may be the brand range, not your face. Switch to a broader retailer finder or a different brand before assuming your undertone is impossible to match.
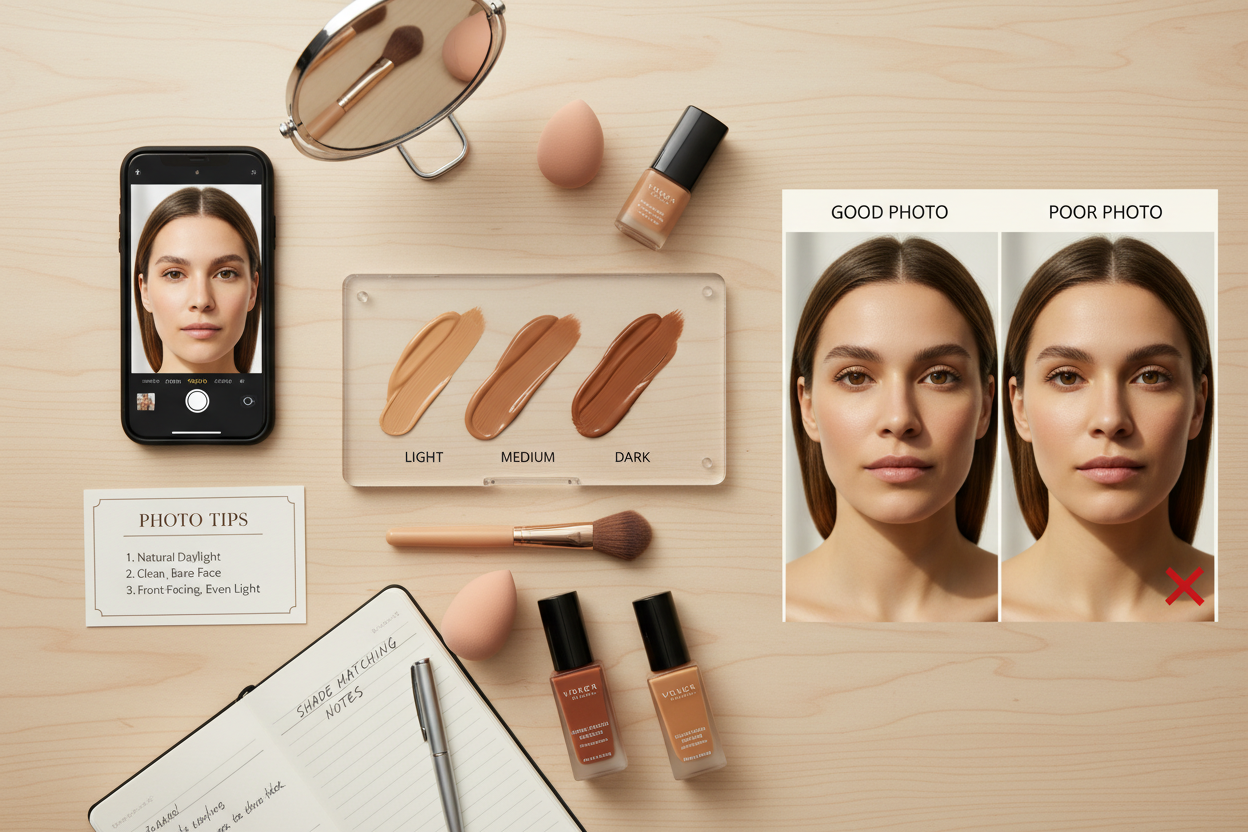
Oxidation and Wear-Time Limits
No digital tool can fully predict oxidation. Foundation can darken, warm up, turn peachier, look dull, or separate after it reacts with skin chemistry, skincare, oil, and air exposure. The bottle that looks invisible in a virtual try-on can still shift after fifteen minutes on the skin.
Oxidation is also formula-specific. A tool may correctly identify your depth and undertone, then recommend a formula that dries warmer or deeper than expected. That is why the final test should happen after the product settles, not immediately after application.
- Apply two or three nearby shades from the jaw toward the neck.
- Blend the edges lightly but leave enough product to compare.
- Wait at least 10 to 20 minutes before judging the final color.
- Check indirect daylight, indoor light, and one phone photo without flash.
- Choose the shade that disappears into the face-to-neck transition, not the one that flatters the face alone.
If the best shade becomes orange, gray, pink, or visibly darker after it sets, the tool gave you a useful starting point but not the final answer. Move one undertone family over, not just one number lighter or deeper.
How to Choose the Right Tool for Your Situation
Start with the decision you are actually making. Someone replacing a discontinued foundation needs a different tool from someone buying complexion makeup for the first time. Someone with deep skin and a cool undertone needs a different level of range scrutiny from someone choosing between two known neutral shades.
| Your situation | Best first tool | Second check |
|---|---|---|
| You have no reliable current shade | Brand quiz plus AI/photo finder | Compare two or three nearby samples in daylight |
| You already own a good match | Shade-transfer matcher or retailer finder | Check formula finish and undertone label before buying |
| You want one specific brand | That brand's shade finder | Look at neighboring undertones in the same depth |
| You want to compare several brands | Retailer finder | Read reviews from people with similar depth and undertone |
| You are privacy cautious | No-photo quiz or known-shade transfer | Use physical samples or flexible return policies |
| Your skin is very fair, olive, deep, or muted | Retailer finder plus brands with broad undertone labels | Verify with real swatches because gaps are common |
Do not keep repeating the same type of tool when it fails. If three photo tools read your redness as cool undertone, move to a no-photo process and a jaw swatch. If a retailer tool gives only orange-looking deep shades, move to a brand with more nuanced undertone families.
How to Verify a Shade Finder Result
A good verification process is simple and slightly boring. That is the point. It reduces the chance that a flattering app screen, a persuasive quiz result, or a product page image overrides what the foundation actually does on your skin.
- Separate depth from undertone. Ask whether the shade is too light or deep first, then judge whether it is too yellow, pink, red, gray, or orange.
- Check the jaw and neck. The face may be redder or darker than the neck, so the transition area is more useful than the wrist or the center of the cheek.
- Wait for dry-down. Give the formula enough time to oxidize or settle before you decide.
- Compare adjacent shades. One recommendation is not enough. Test the nearest lighter/deeper shade and the nearest undertone neighbor.
- Photograph without flash. A quick phone photo in indirect daylight can reveal a line that the mirror missed.
- Return to your undertone evidence. If the tool result conflicts with repeated jewelry, fabric, and color-palette clues, treat it as a product mismatch, not a personal classification.
For undertone label decoding, use the foundation undertone guide. For the broader first-time process, use the beginner foundation shade guide. A tool comparison is most useful after you know which question you are asking.
People Also Ask
What is the most accurate foundation shade finder?
The most accurate option is usually the one that matches your situation: a shade-transfer tool if you already own a strong match, a retailer finder if you want cross-brand options, and a photo or AI finder if you need a first estimate. Accuracy still depends on lighting, shade-range coverage, formula behavior, and your final jaw-to-neck test.
Are AI foundation shade finders better than quizzes?
AI tools can read visual information that a quiz cannot, but they can also misread lighting, redness, shadow, or camera warmth. A quiz can be more private and more stable when you already know your depth, undertone, coverage, and finish preferences. Many people get the best shortlist by using both.
Can an AR try-on show my real foundation match?
An AR try-on can help you compare shades visually, but it cannot show texture, dry-down, oxidation, wear time, or whether the shade blends into your neck. Use it as a preview, then test real product before deciding.
Do foundation shade finder tools work for deep skin tones?
They can help, especially when the brand or retailer has a broad and well-labeled shade range. They fail when the database lacks deep-cool, deep-neutral, red-based, golden-deep, or olive options. If the recommendations keep looking red or orange, compare another brand range instead of assuming the tool has diagnosed you correctly.
Common Questions: The Ultimate Color FAQ
Should I upload a makeup-free photo to a foundation finder?
Only if you are comfortable with the tool's privacy terms and the photo is taken in even daylight. Makeup, SPF cast, strong redness, harsh shadow, or warm indoor light can all distort the result. If you do not want to upload your face, use a quiz, shade-transfer matcher, or in-store sample process instead.
What should I do when two tools recommend different shades?
Look for the pattern behind the disagreement. If both recommend the same depth but different undertones, test nearby undertone families. If one recommendation is much deeper or lighter, the photo or quiz input may be flawed. Your physical jaw-to-neck swatch should decide the final match.
Can a foundation shade finder identify my seasonal color palette?
No. A foundation tool may estimate skin depth or undertone, but a seasonal palette also considers contrast, chroma, hair, eyes, and how colors behave near the face. Use foundation results as one clue, not as a full color analysis.
Is a retailer foundation finder better than a brand finder?
A retailer finder is better for comparing several brands. A brand finder is better for understanding one formula family in detail. If you are open to many brands, start with the retailer. If you already want a specific brand, use that brand's tool and verify the shade in real light.
How often should I recheck my foundation shade?
Recheck when your skin depth changes noticeably, when you change skincare or formula type, after a seasonal tan fades, or when a brand reformulates. Your undertone usually stays more stable than your surface depth, so do not restart from zero every time your summer or winter shade changes.